Introduction
Route Analysis
This topic covers how to recompute an analysis and generate a route using tracks.
We estimate that this will take 4 minutes to complete.
Detailed Explanation
Analysis Recompute and Flight Tracks
This topic outlines how to recompute a route analysis from the Plan screen, and how to generate a route with (AUS, NAT, or PAC) tracks. You need to recompute the route analysis if you make changes on the Plan screen, for example, change departure time or aircraft.

![]() Click the Flight 0100 list item.
Click the Flight 0100 list item.

![]() Click the Route menu item.
Click the Route menu item.
![]()
![]() Click the Plan menu item.
Click the Plan menu item.
The Route Analysis, whether displayed in the Route Group on the PLAN UI, or here in the ROUTE UI, will display the available routes ordered by the selected optimization method. Possible optimization methods include Least Cost, Least Fuel, and Least Time.
The Route Analysis will display company specific saved city-pair routes, FAA Preferred Routes, IFPS Routes, and/or available CDRs, as configured in the Airline Code Parameters.
In the event that there are no city-pair routings available the system can be configured by Skywise Support to automatically generate an optimized route. This function can generate a single "OPT" optimized route, or a route for each of the 3 available optimization methods.
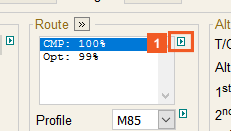
![]() Click Route expansion menu (green arrow).
Click Route expansion menu (green arrow).
HINT
You can run a Route Analysis from both the Plan and Route Screen.
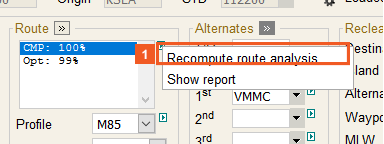
![]() Click the Recompute route analysis... list item.
Click the Recompute route analysis... list item.
The Route Analysis can be recomputed at any time. A user should accomplish a recomputation of the analysis if any pertinent values are changed on the plan screen.
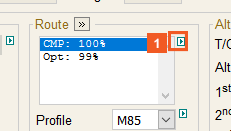
![]() Click Route expansion menu (green arrow).
Click Route expansion menu (green arrow).

![]() Click the Show report list item.
Click the Show report list item.
The Report displays in the lower left pane.

![]() Click the Route menu item.
Click the Route menu item.
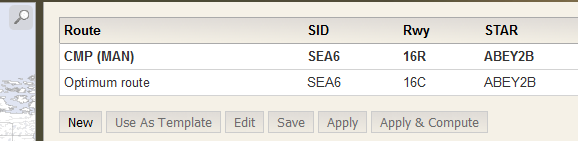
![]() Click the CMP (MAN) list item.
Click the CMP (MAN) list item.

![]() Click the Map maximize button.
Click the Map maximize button.

![]() Click the Airspace button.
Click the Airspace button.

![]() Click the Tracks menu item.
Click the Tracks menu item.

![]() Click the Tracks check box.
Click the Tracks check box.
Note that this display shows the tracks in "Both" directions. The user can select "Westbound", or "Eastbound" if they want to view tracks for a specific direction only.

![]() Click the Map minimize button.
Click the Map minimize button.
Once you have clicked the Tracks checkbox the PAC tracks are displayed on the map.

![]() Click the New button.
Click the New button.
Generating a route with PAC tracks.
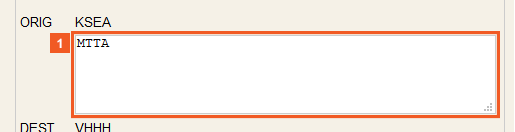
![]() Click the MTTA input field.
Click the MTTA input field.
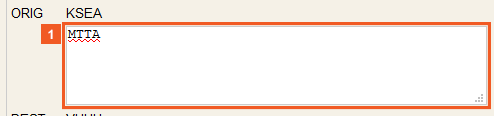
![]() Enter PAC-E MTTA into the MTTA field.
Enter PAC-E MTTA into the MTTA field.
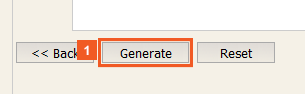
![]() Click the Generate button.
Click the Generate button.

![]() Click
Click ![]() beside the Save button on the map.
beside the Save button on the map.

![]() Click the Map minimize button.
Click the Map minimize button.
You will have to adjust the map to view the new route.
The generated route uses the PAC-E track.
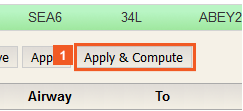
![]() Click the Apply & Compute button.
Click the Apply & Compute button.
While an ad hoc route can be generated to align with a specific track, as shown here. The system can be configured to automatically generate routes compliant with each applicable track.