Introduction
Input Defaults
In this topic, we will review the configuration of Input Defaults, which allows users to store default data, or create templates which automatically load specific entries to fields within the various screens of the primary User Interface, to assist with automation and provide standardization.
We estimate that this will take 7 minutes to complete.
Detailed Explanation
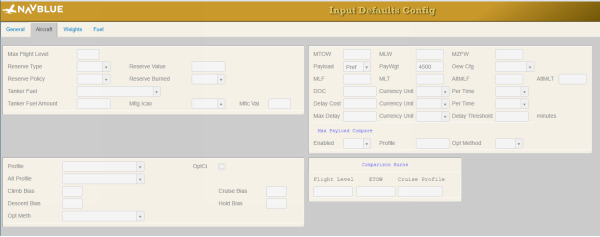
Input Defaults WebFOMS
The Input Defaults webFOMS screen stores data and automatically loads it to the compute fields on the Plan or Route screen.
There are two types of templates that you can add, Default and UI Selected Templates.
- Defaults templates load data automatically when a flight is added if Record Types in the Key group match between the template and the flight added.
- UI Selected Templates load data automatically from the Plan screen when a template is applied.
This topic will show you how to create and apply both types of templates.
Record Types in the Key group.
Add Flight dialog from the List Screen.
The following steps demonstrates how to build a default template and how it is applied when record types match fields when adding a flight.
The rest of the fields, including the other three tabs, are the default values that will be loaded into the Plan and/or Route screen.

![]() Click the New button.
Click the New button.
HINT
This is a basic example of a default template. There are many different ways you can use templates. You can use more Record Types to be as specific as you want when using templates.

![]() Click the Type dropdown button.
Click the Type dropdown button.
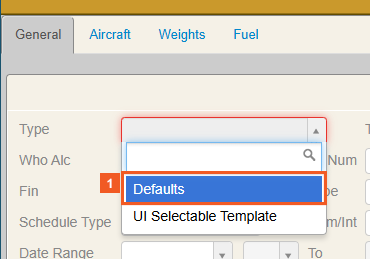
![]() Click the Defaults list item.
Click the Defaults list item.
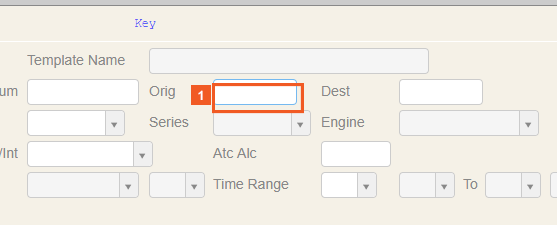
![]() Click the Orig input field.
Click the Orig input field.
![]() Enter KJFK into the Dest field.
Enter KJFK into the Dest field.

![]() Click the Dest input field.
Click the Dest input field.
![]() Enter EGLL into the Dest field.
Enter EGLL into the Dest field.
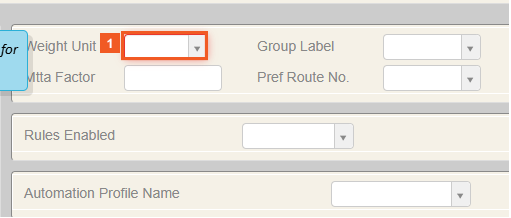
![]() Click the Weight Unit dropdown button.
Click the Weight Unit dropdown button.
The Weigh Unit field is mandatory for every template.

![]() Click the KGS list item.
Click the KGS list item.
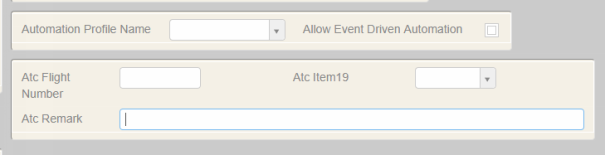
![]() Click the Atc Remark input field.
Click the Atc Remark input field.
![]() Enter TEST REMARKS into the Atc Remark field.
Enter TEST REMARKS into the Atc Remark field.

![]() Click the Aircraft tab.
Click the Aircraft tab.

![]() Click the Payload dropdown button.
Click the Payload dropdown button.
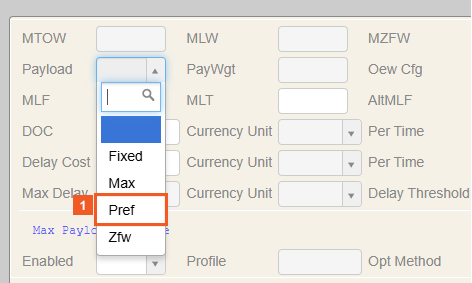
![]() Click the Pref list item.
Click the Pref list item.
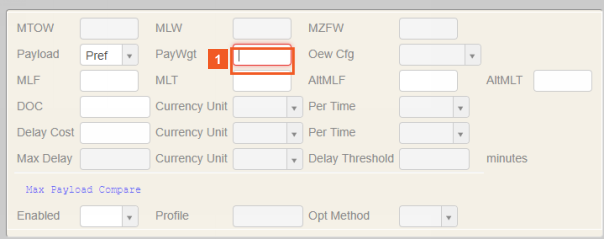
![]() Click the PayWgt input field.
Click the PayWgt input field.
![]() Enter 4500 into the PayWgt field.
Enter 4500 into the PayWgt field.

![]() Click the Save button.
Click the Save button.
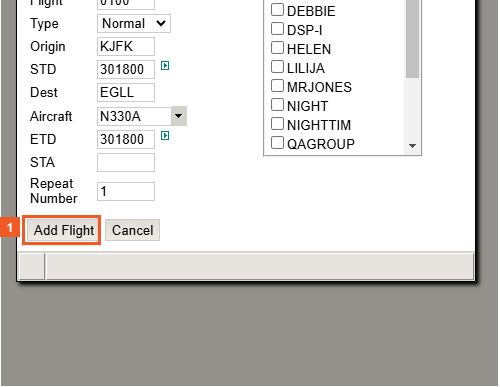
![]() Click the Add Flight button.
Click the Add Flight button.
To recap the values in the template just added.
Record Types in the Key group (highlighted):
- Origin: KJFK
- Dest: EGLL.
Default values added:
- Weight Units: KGS
- Atc Remark: TEST REMARK
- Payload: Pref
- PayWgt: 4500.
Any flight that has KJFK as the Orig and EGLL as the Dest will automatically have these values loaded to these fields.
![]()
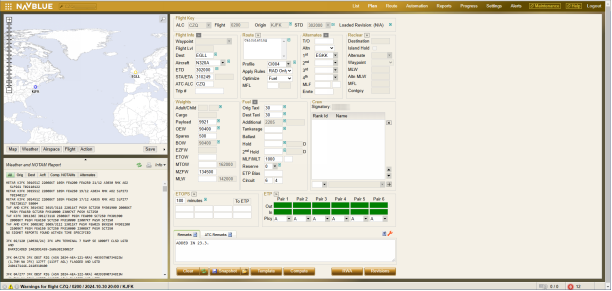
![]() Click the Plan menu item.
Click the Plan menu item.
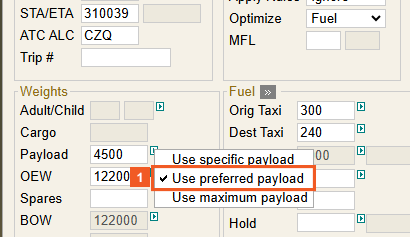
![]() Click the Use preferred payload list item.
Click the Use preferred payload list item.
Test Remarks automatically added.
4500 (KGS) automatically added in the Payload field and the Use preferred payload was automatically selected.


You can have multiple Defaults templates. Values can be taken and automatically added from multiple templates provided that the Record Types match. The following example will show you how two templates merge.
In this example, a new Defaults template has been added along with the template added in the previous example. This template has a value added to Type in the Key group and Rules Enabled has been selected in the Rules Enabled field.

![]() Click the Add Flight button.
Click the Add Flight button.
This flight will use two templates because the Origin is KJFK, the Dest is EGLL and the Aircraft type is N320A.
![]()
![]() Click the Plan menu item.
Click the Plan menu item.
RAD Only added from the 2nd template because it matched the Aircraft type.
Payload and Atc Remarks field values added from the 1st template because Orig and Dest matched.
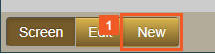
![]() Click the New button.
Click the New button.
The following example shows you how to create and apply a UI Selectable Template.

![]() Click the Type dropdown button.
Click the Type dropdown button.

![]() Click the UI Selectable Template list item.
Click the UI Selectable Template list item.
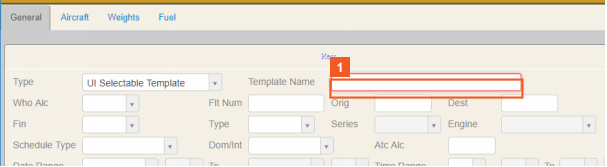
![]() Click the Template Name input field.
Click the Template Name input field.
You must give a UI Selectable Template a name.
![]() Enter TEMPLATE1 into the Template Name field.
Enter TEMPLATE1 into the Template Name field.

![]() Click the Weight Unit dropdown button.
Click the Weight Unit dropdown button.

![]() Click the KGS list item.
Click the KGS list item.
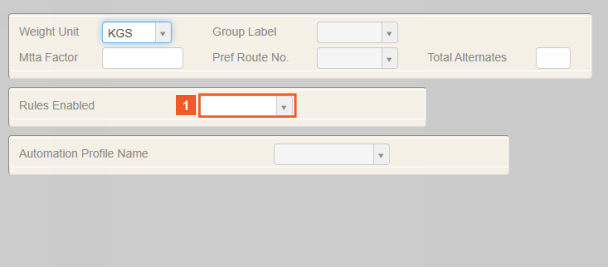
![]() Click the Rules Enabled dropdown button.
Click the Rules Enabled dropdown button.

![]() Click the Include All list item.
Click the Include All list item.

![]() Click the Atc Remark input field.
Click the Atc Remark input field.
![]() Enter TEST REMARK into the Atc Remark field.
Enter TEST REMARK into the Atc Remark field.

![]() Click the Save button.
Click the Save button.

![]()
![]() Click the Plan menu item.
Click the Plan menu item.
The following steps will show you how to apply the UI Selectable Template just created.

![]() Click the Template button.
Click the Template button.

![]() Click the Templates dropdown button.
Click the Templates dropdown button.

![]() Click the TEMPLATE1 list item.
Click the TEMPLATE1 list item.
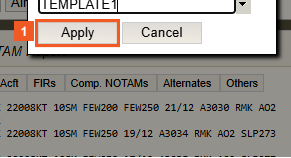
![]() Click the Apply button.
Click the Apply button.

The All option automatically selected.
TEST REMARK automatically added.