Introduction
Flight Info Group
This topic covers the Flight Info group on the Plan screen. You will learn how each option in this group works.
We estimate that this will take 7 minutes to complete.
Detailed Explanation
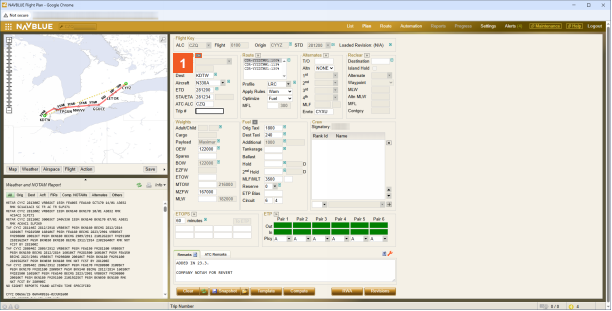
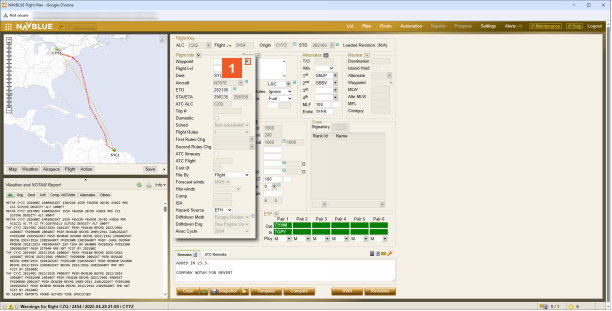
![]() Click the Flight Info >> button.
Click the Flight Info >> button.
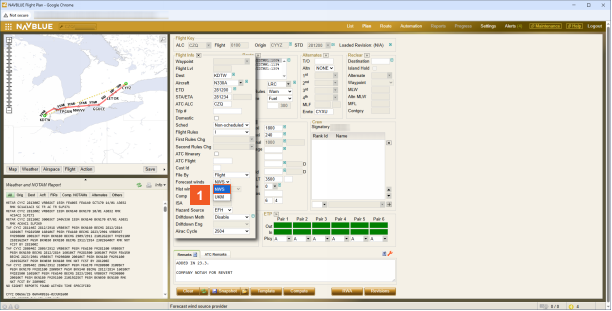
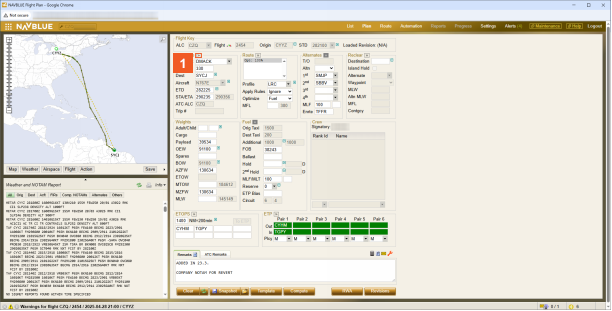
The Flight Info group, together with the Flight Key group, provides you with the fields required to create a flight plan.
Clicking the double arrows will extend the window, revealing additional flight information fields.

![]() Click the Waypoint green arrow button.
Click the Waypoint green arrow button.
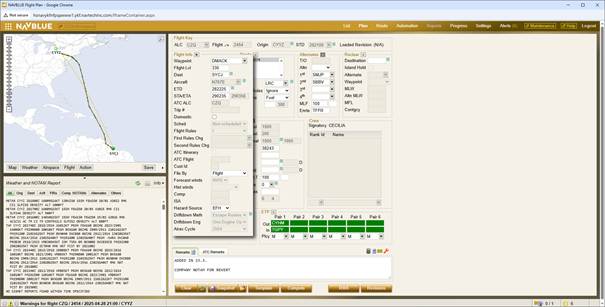
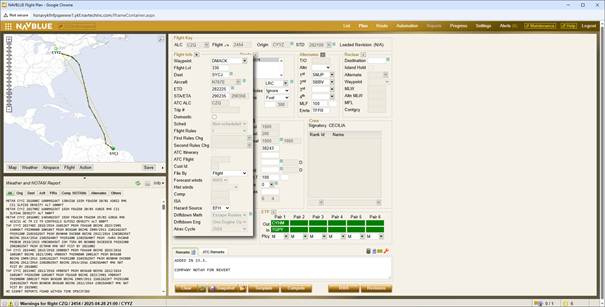
The green "Informational Context Arrows" open sub-menus which provide additional configuration options.
Please click Next to continue.
The "Dest" (destination) field allows a user to enter the ICAO or IATA identifier for the destination station. The identifier can be entered either in the ICAO or IATA format, but if entered in the IATA format, it will be converted and displayed in the ICAO format. This information must be entered before generating a Flight Plan.
When selected, the informational context arrow opens a text box displaying the options: View weather and NOTAMs and View airport information.
- Selecting View weather and NOTAMs causes the Information panel to display the Weather and NOTAM Query and you are prompted to enter a station in the Information Panel.
- Selecting View airport information causes the Information panel to display airport information.
Note: If a destination was entered before the informational context arrow was selected, the Information panel displays the Weather and NOTAM Query for the destination station.

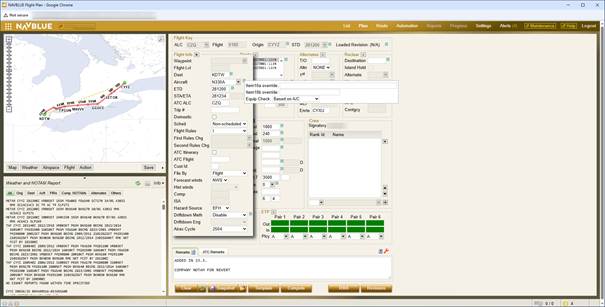
![]() Click the Aircraft green arrow button.
Click the Aircraft green arrow button.
The Aircraft section allows the user to enter the aircraft Fleet Identification Number (FIN) assigned to the flight. This information must be entered before generating a Flight Plan.
Select the green context arrow beside the field to enter an ATC item10a and an ATC item10b value.
A warning message is returned on compute if you use an invalid value.
Please click Next to continue.
When selected, the informational context arrow opens a text box displaying the options: Item 10a override, Item 10b override, and Equip Check.
- Item 10a override and Item 10b override fields allow you to enter equipment code strings that will override the default values from the Aircraft Characteristics record. These values will appear in the ATC message.
- Equip Check allows you to disable the CPDLC check or the full equipment check. The default setting is Based on A/C which will perform the full equipment code check against the planned route. Options are:
- Based on A/C
- Disable CPDLC
- Disable ALL

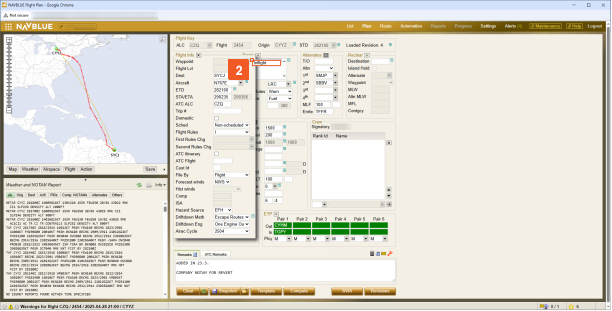
![]() Click the ETD green arrow button.
Click the ETD green arrow button.

Please click Next to continue.
Estimated Time of Departure (ETD) indicates the specific time you will depart. By default, the option Depart at Specific Time is selected. However, if you prefer the system to calculate your ETD to meet the Scheduled Time of Arrival (STA), you can select Calculate Based on STA. The options are:
- Depart at Specific Time
- Calculate based on STA.
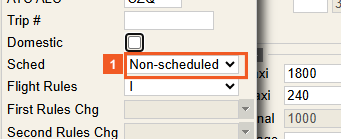
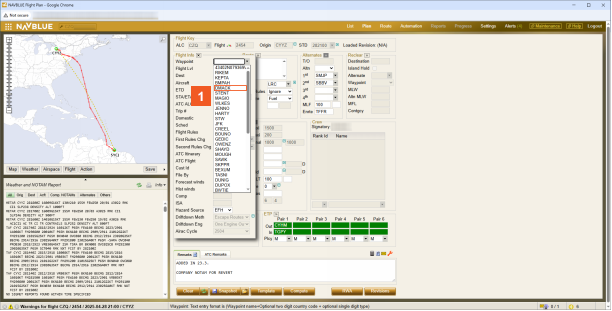
![]() Click the Sched dropdown button.
Click the Sched dropdown button.
![]() Please click Next to continue.
Please click Next to continue.
The "Sched" drop-down list allows users to designate a flight as Scheduled, Non-Scheduled, General Aviation, Military, Training, or other.
The selection will be reflected in the ATC Filing.
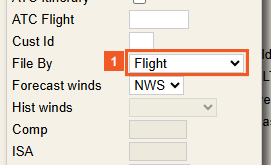
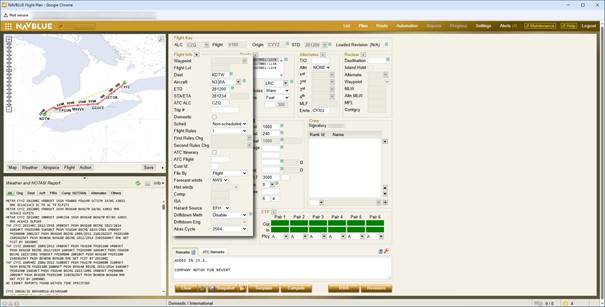
![]() Click the File By dropdown button.
Click the File By dropdown button.
If the ATC Itinerary check box is left unchecked the Send to ATC box on the Reports screen is active. If the check box is checked the Send to ATC box on the Reports screen is greyed out and a message can not be sent to ATC.
The ATC Flight field allows you to specify the flight number that will be used in ATC messages.
![]() Please click Next to continue.
Please click Next to continue.
The File By drop-down allows a user to select the method of filing the flight with ATC.
Options are: file by Flight (flight number), file by Registration number, or file by FIN.
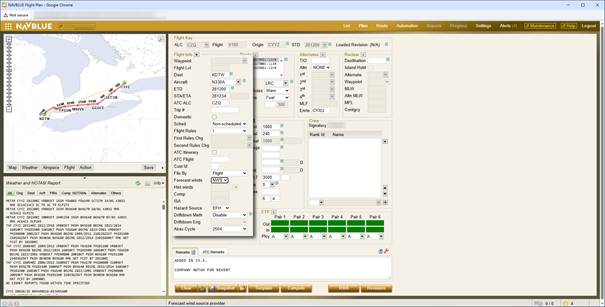
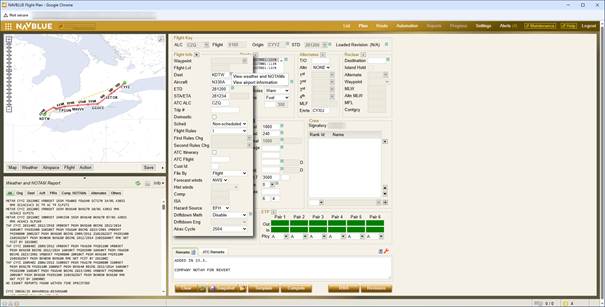
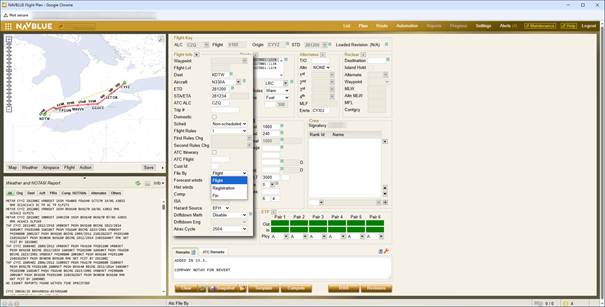
![]() Click the Forecast winds dropdown button.
Click the Forecast winds dropdown button.
![]() Click the NWS list item.
Click the NWS list item.
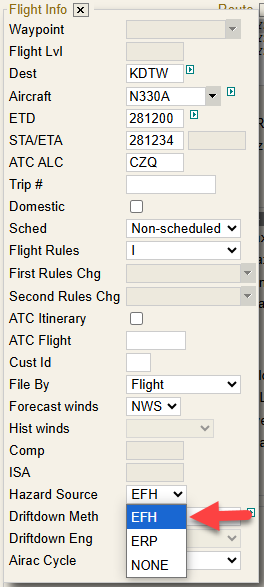
Hazard Source
N-FP offers hourly updates of a more granular FHF hazard model for North America, resulting in more accurate hazard data for Flight Planning.
Selection of a hazard model will be triggered by the "Hazard Source" field within the UI. The available options will be NONE, EFH, and ERP. The "EFH" option includes the new hourly hazard data, valid for North America Only. The "ERP" option includes the hazard data communicated as part of the global GRIB, updated 4 times daily.
Note: DTN is the source for EFH and TEL is the source for ERP.
If the EFH option is selected, and the flight operates beyond North America, the base "ERP" hazard data will be considered.
If "NONE" is selected, the system will fall back to the Wind Source selection, where ERP will provide the existing GRIB based hazard data, but NWS and UKM will not provide any hazard data to the system.
![]() Click the Driftdown Meth dropdown button.
Click the Driftdown Meth dropdown button.
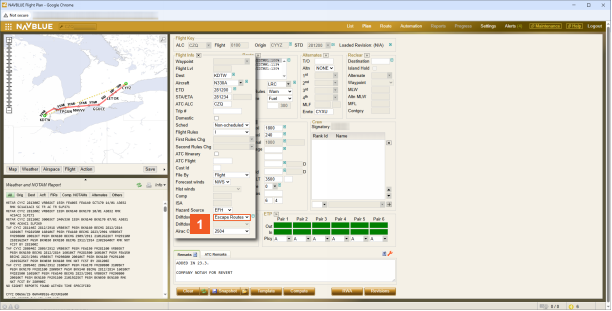
![]() Click the Escape Routes list item.
Click the Escape Routes list item.
The Driftdown Method dropdown allows the user to select the method of driftdown on a per-compute basis.
Options are: Payload Reduction, Escape Routes, Auto, and Disable driftdown.
![]() Click the Driftdown Eng dropdown button.
Click the Driftdown Eng dropdown button.
![]() Click the One Engine Out list item.
Click the One Engine Out list item.
The "Driftdown Eng" drop-down allows a user to select the engine scenario for driftdown, to be used on a per-compute basis.
Options include: All Engines, One Engine Out, or Half Engines.
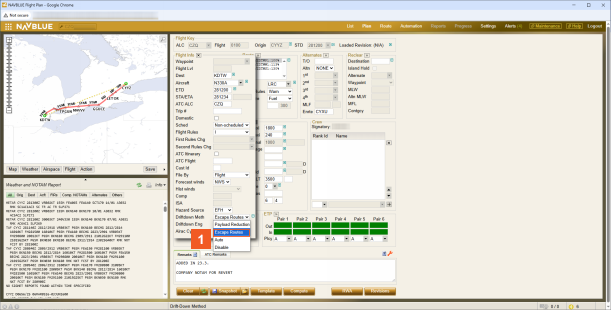
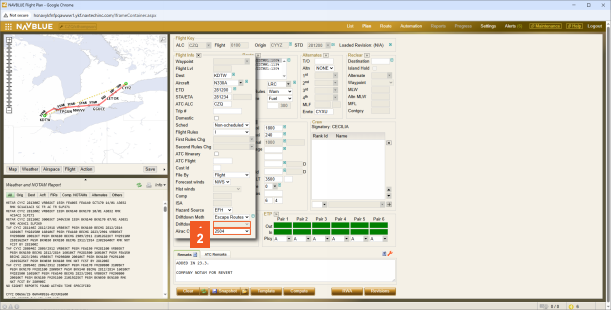
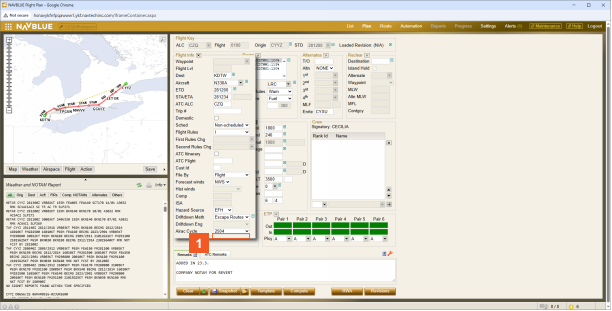
![]() Click the Airac Cycle dropdown button.
Click the Airac Cycle dropdown button.
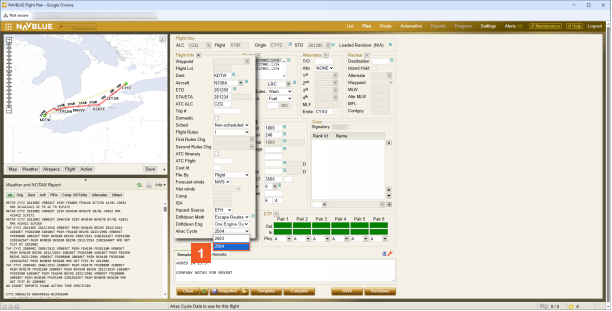
![]() Click the 2504 list item.
Click the 2504 list item.
The AIRAC Cycle drop-down allows the user to select the AIRAC cycle data to be used for the computation.
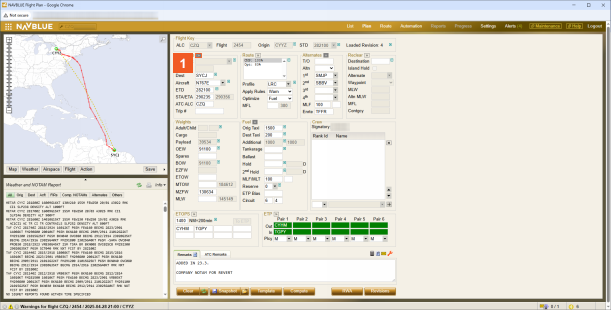
Flight Info Use During Inflight Calculation
The Flight Info Group is used to trigger an Inflight Calculation, and is the interface used to select the enroute waypoint and flight level used to begin the computation.
![]() Click the Flight Info >> button.
Click the Flight Info >> button.
![]() Click the Waypoint green arrow button.
Click the Waypoint green arrow button.
![]() Click the Inflight button.
Click the Inflight button.
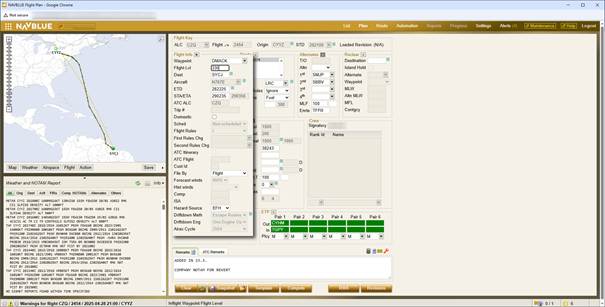
![]() Click the Waypoint dropdown button.
Click the Waypoint dropdown button.
![]() Click DMACK.
Click DMACK.
The waypoint list is generated based on the current route computation.
In the event of an off-route Inflight Calculation, a waypoint can be manually typed into the field. In this case, a new route will have to be generated to complete the computation.
The Flight Level is auto-populated with either the expected flight level based on the most recent computation, or the expected level based on the most recent position report captured by the Progress Functionality.
Note: When inflight calculation is applied, the Tankering entry field on the Plan dialog is replaced with FOB overhead selected waypoint.
Flight Info for Adhoc Wind and Temperature Calculations
The Flight Info Group contains options for selection of Historical Winds, manual entry of an ISA deviation, and manual entry of a wind component. This option is only available for "Test" flights. The system will not allow computation of adhoc wind or temperature data on "live" flights.
![]() Click the Flight Info >> button.
Click the Flight Info >> button.

![]() Click the Hist winds dropdown button.
Click the Hist winds dropdown button.
HINT
If present, you can use the small green arrow to further designate the Years and Percentile for Historical Winds:

![]() Click the October list item.
Click the October list item.

![]() [!AutoText 'Feedback documentation' could not be generated]
[!AutoText 'Feedback documentation' could not be generated]
When Historical Wind data is selected, the manual entry option for "Comp" and "ISA" are disabled.

![]() Click the Hist winds dropdown button.
Click the Hist winds dropdown button.
![]() Click the Hist winds dropdown button.
Click the Hist winds dropdown button.

![]() Click the Hist winds blank list item.
Click the Hist winds blank list item.
![]() Click the Comp input field.
Click the Comp input field.
Comp (Wind Component value) is the average wind component applied to the full route of your Test flight.
Note: A positive value indicates a tailwind, a negative value indicates a headwind.
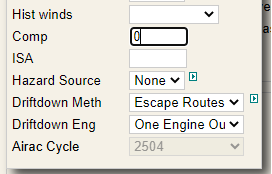
![]() Enter 0 into the Comp field.
Enter 0 into the Comp field.
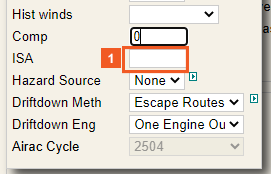
![]() Click the ISA input field.
Click the ISA input field.
ISA (International Standard Atmosphere) refers to the temperature value that the system uses for referencing the Performance Tables during flight computations.
![]() Please click Next to continue.
Please click Next to continue.
When a value is added to the manual "Comp" or "ISA" fields, the Historical Wind drop down is disabled.
![]()
Flight Info Group
This topic covers the Flight Info group on the Plan screen. You will learn how each option in this group works.
We estimate that this will take 8 minutes to complete.