The following steps show how a user can add a new city-pair in the system. If you are adding a valid time range to a route, there is a difference between using the Weekdays option and selecting days of the week.
Click the Maintenance button in the top right corner then select the City-Pair Routes tab. To create a new City-Pair Route, click the Add button.

Fill out the following fields:
ALC - If your operation has more than one ALC, Enter your three letter ALC (Airline Code) into the ALC field.
Origin - Enter the origin airport.
Destination - Enter the destination airport.

There are several filter options to choose from which can be selected.

Field | Description |
Valid Days | The city-pair can be set either strictly for weekdays, weekends, or other. |
Valid Time | The city-pair can be valid for specific times. |
Aircraft, Aircraft Type, Aircraft Series | The city-pair can be set for specific aircraft, type, or series. |
Production Route | If this checkbox is checked, it will be usable by the dispatcher in planning. If unchecked, it will eliminate the route from being used in the generation of the route analysis for the flight in question. |
Usage | This field indicates how the route is used. Main indicates that the route can only be used in the main route. Alternate indicates that the route can only be used in alternate routes. Blank indicates that it can be used in any route. |
Route Qual | This functionality is designed to make city pair routes available only for a specific aircraft. This works in conjunction with the Aircraft Characteristics database. For further information, please read the Route Qual feature – Aircraft Characteristics article. |
Route Type (Jet, Prop, Heli) | Allows users to assign two types to a route limiting the route usage to either jets, props, or helicopters. |
Valid Form | Users can set a date of validity for the city-pair route. |
Expires | Options are: Based on Last Usage - route expires 1 year from date of last usage Never - route will never expire On a Specific Date - users can choose when the route will expire.
|
Additional Options exist when setting up a City-Pair route as well. These are outlined below:
Field | Description |
Warning/Error if ETP not used | This field forces the system to warn the dispatcher that an ETP is required if this route is used. Checking this box causes the warning/error to appear to the dispatcher when computing flight plans. |
Warning/Error if ETOPS not used | This field forces the system to warn the dispatcher that the route requires ETOPS. Checking this box causes the warning/error to appear to the dispatcher when computing flight plans. |
Designator | When a route designator is entered in this field, it overrides the route shown in the ICAO message. |
Track | Choose the appropriate Track Structure abbreviation if required (e.g., NAT for North Atlantic Track, or PAC for Pacific.) |
MFL | Enter a Maximum Flight Level (MFL) for the route if necessary. |
Country Code | Enter the appropriate ICAO country code for the route if required. |
An expiry for the route can be used. You can set if it will be valid from all days, all times, all aircraft, or never.

Click the Switch to Route String Editor button via the a button. Clicking here allows you to choose your own Route or fly Direct (DCT).
Click the Depart Via dropdown button. Options are SID, Direct, Preferred Departure, or Dynamic Direct (System will do an MTTA to first waypoint). Click the SID list item.
Click the Arrive Via dropdown button. Options are SID, Direct, or Dynamic Direct (the system will do an MTTA to the first waypoint). Click the STAR list item.

Enter the route you want to fly in the Path input field then click the Accept button.

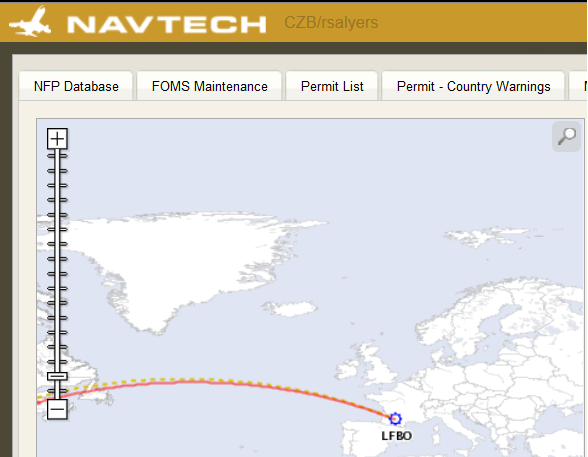
The route will now show on the Map Screen.

Once you have created your route, you can add comments regarding the Route that will show up on your Flight Plans.


