Introduction
Route Building - Intermediate
This topic will be comprised of a step-by-step walkthrough showing how to build a practical route, including consideration of rules, the method of efficiency. The Intermediate Route walkthrough will show functionality required for an international route within Europe.
We estimate that this will take 5 minutes to complete.
Introduction
This topic contains a process showing how to build a practical route, including consideration of rules, and the method of efficiency. The Intermediate Route process shows the functionality required for an international route within Europe.
Items covered in Intermediate Route Building:
- Setting a flight level range for section of a route
- Must not use field
- Accessing IFPS Compliant Routes0.
Detailed Explanation
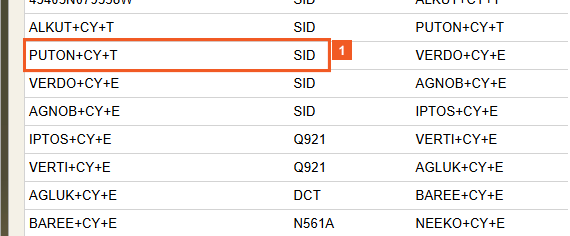
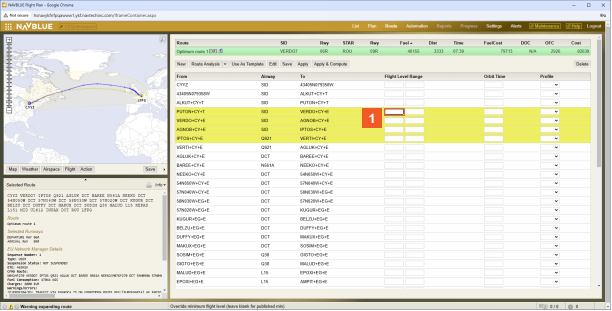
![]() Click the PUTON+CY+E SID list item.
Click the PUTON+CY+E SID list item.
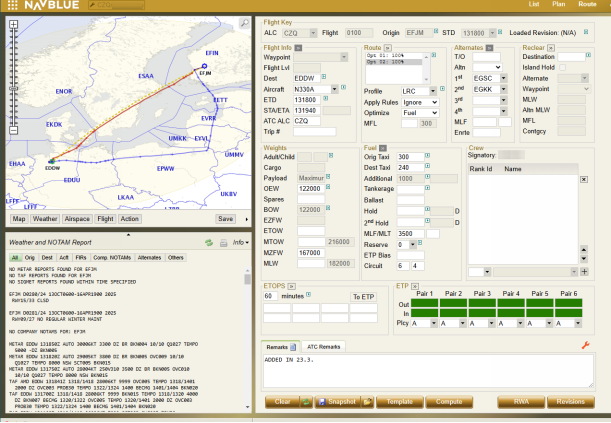
In this example, we will change part of the planned route's altitude.
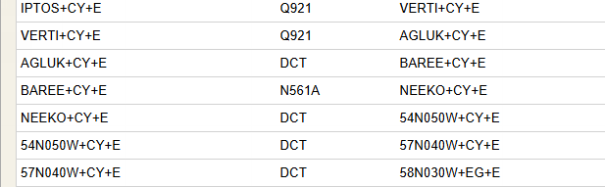
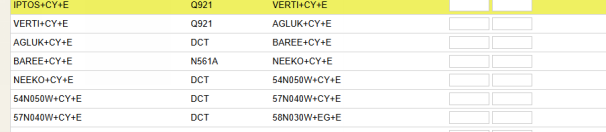
![]() Click the IPTOS+CY+E Q921 list item while keeping the
Click the IPTOS+CY+E Q921 list item while keeping the ![]() key pressed.
key pressed.
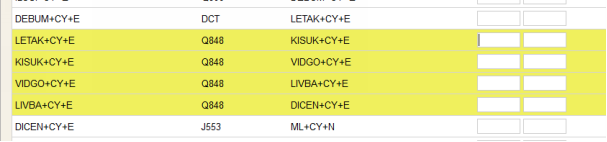
Once you click on the first waypoint you want to change, hold the SHIFT key down, and click on the last waypoint you want to change. Everything in between those two waypoints will turn yellow.
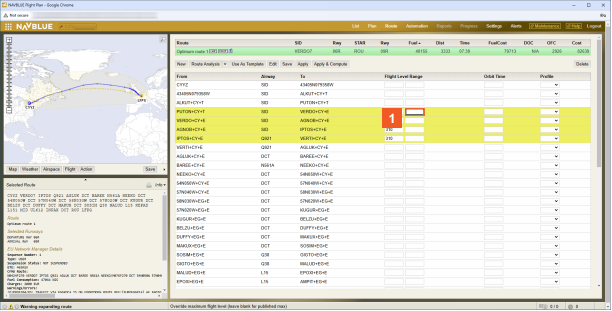
![]() Click the PUTON+CY+E Lower Flight Level input field.
Click the PUTON+CY+E Lower Flight Level input field.
For the highlighted section, we want to limit the flight level range.To start, click in the lower flight level range input field.
![]() Enter 310 into the PUTON+CY+E Lower Flight Level field.
Enter 310 into the PUTON+CY+E Lower Flight Level field.
We want our minimum altitude for this segment of the flight to be FL310 or 31,000 feet.
![]() Press the
Press the ![]() key.
key.
Once you have entered the minimum altitude, press the tab key which will take you over to the maximum altitude field and also copy your inputs for the entire highlighted area.
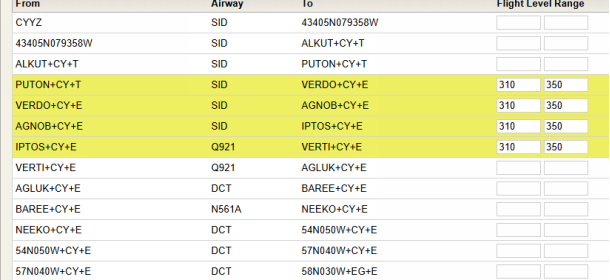
![]() Enter 350 into the PUTON+CY+E Maximum Flight Level field.
Enter 350 into the PUTON+CY+E Maximum Flight Level field.
![]() Press the
Press the ![]() key.
key.
Pressing the tab key again will copy the value into all highlighted sections of your route.
![]() Click the Apply button.
Click the Apply button.
Once finished, select Apply so the changes can be updated while you finish your Flight Plan.
HINT
If you need a segment to be at a specific altitude, be sure to set both your minimum and maximum fields to the same value.

Once you select Apply from the route screen, the route will save so you can continue planning.
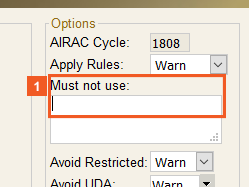
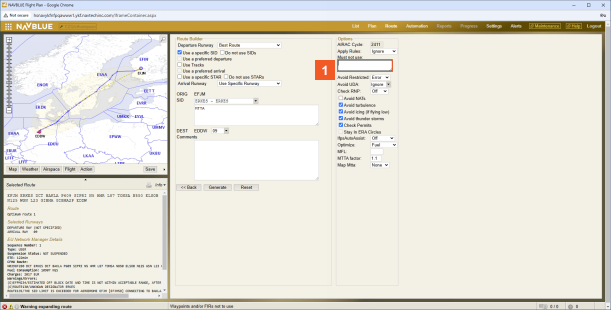
![]() Click the Must not use input field.
Click the Must not use input field.
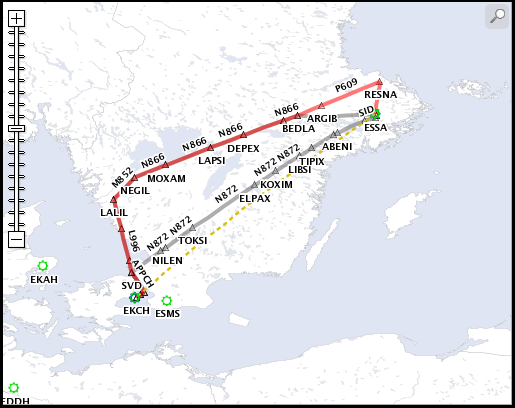
In this example, we will avoid a FIR while building a dynamic route.
![]() Enter FIR ESAA into the Must not use field.
Enter FIR ESAA into the Must not use field.
In the Must not use field, we will avoid the ESAA FIR.
HINT
Rules are specified as follows:
Waypoints - add the name of the waypoint, e.g.: YYZ+CY
Airways - add the name of the airway, e.g.: YQT+CY J500 YOW+CY
Restricted Areas - add the keyword (AREA) and the name of the restricted area, e.g.: AREA CY:609M
FIRs - add the keyword (FIR) and the name of the flight information region, e.g.: FIR CZYZ
Countries - add the keyword COUNTRY and the country code, e.g., COUNTRY CA Rules are separated by forward slashes or commas.
For example: YYZ+CY, YQT+CY J500 YOW+CY, AREA CY:609M, FIR CZYS, FIR CZUL, FIR CZWG
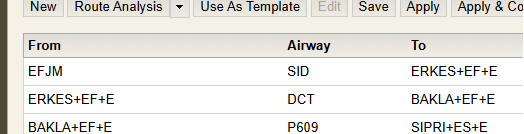
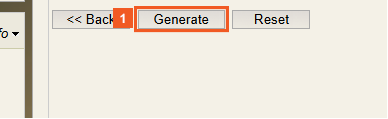
![]() Click the Generate button.
Click the Generate button.
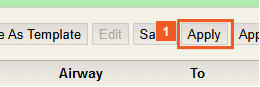
![]() Click the Apply button.
Click the Apply button.
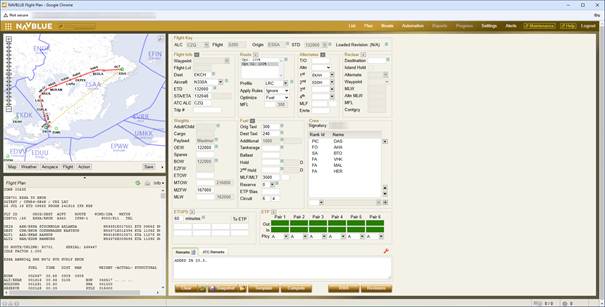
You can see on the map screen that the route optimizer follows the rule of avoiding the ESAA FIR and built a route around it.
Once you select Apply from the route screen, the route will save so you can continue planning.
In our final example, we will show you how to request IFPS routes.
First, after you have computed an initial route you can go into the Route screen and select New.
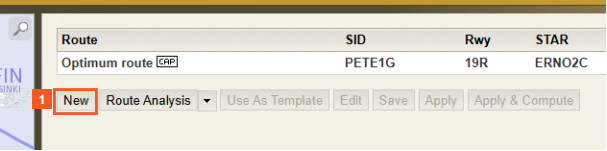
![]() Click the New button.
Click the New button.
HINT
Type hint to help learners. (12pt)
![]() Click the IfpsAutoAssist dropdown button.
Click the IfpsAutoAssist dropdown button.
Note: Using IfpsAutoAssist provides a higher IFPS Validation success rate when computing a route, and retains the suggested vertical portion, or flight level.
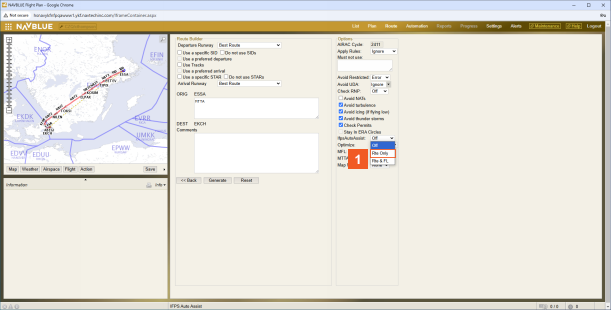
![]() Click the Rte Only list item.
Click the Rte Only list item.
Depending on which IFPS Auto Assist option is selected, the route will be changed. The available options are:
- If Off is selected, no IFPS AutoAssist route call is provided when expanding an MTTA.
- Rte Only (Route only) needs to be selected if only the lateral portion of the route is desired.
- If Rte & FL (Route and Flight Level) is selected, the lateral portion of the route and the suggested vertical portion are retained above the vertical portion determined by N-FP.
In this example, we will use Rte Only.
![]() Click the Generate button.
Click the Generate button.
![]() Click the Apply button.
Click the Apply button.
The selected IFPS Route appears in blue on the map screen. Click Apply to continue working on your Flight Plan.
ATTENTION
The N-FP system may not always be able to find a valid route option. A message is displayed in the Status Bar if no IFPS routes are available.
Once you select Apply from the Route screen, the route will save so you can continue planning.